Paths
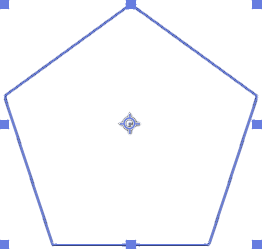
To understand shapes you need to forget everything you know about shapes (which isn't a lot yet I know, but get rid of any presumptions). Shapes are paths made visible by modifiers (stroke, fill, etc.). Both the shape tool and the pen tool create paths. And the thing about paths is that all paths are the same. So you can copy a path from a mask and use it as a shape. Shape paths and mask paths are made with the same tools after all.
Modifiers
At the base level, modifiers are effects for your paths. The simplest modifiers are added by default, fill and stroke. The other modifiers include transform, repeat, twist and so on. They take your paths and modify them.
Honestly if you want to know more about modifiers (and shapes in general), go watch School of Motion. The advanced modifiers are powerful but a hassle to work with. Shape layers (and specifically modifiers) don't come up often when making AMVs or anything that isn't motion graphics.

Groups
Groups are essentially shape compositions. When you make a new shape, a group is automatically created for it. Modifiers inside groups only have an effect inside the group.
You can put multiple paths inside one group. This makes them semantically part of the same shape and is a great way to apply modifiers to all of the paths simultaneously, or to stop modifiers outside the group from acting on both of the paths independently.
Tips
- If you select a shape layer and draw, those shapes will be added to the same shape layer. To prevent this, have no layers selected when drawing new shapes.
- To draw a mask on a shape layer, you can either copy the mask from another layer or toggle the
 control on the toolbar. You also need to have the layer selected you want to draw the mask on.
 - You can auto-center the shape layers anchor point by setting a preference
- Right clicking a parametric path allows you to turn it into a bezier path, letting you edit the points manually.
 pen tool G or the
  shape tool Q, check no layers are selected and draw in the preview panel. You can also create an empty shape layer from the layer menu Layer > New > Shape Layer. To use an empty shape layer, select it and draw with one of the tools or use the
  layer menu to add shapes.