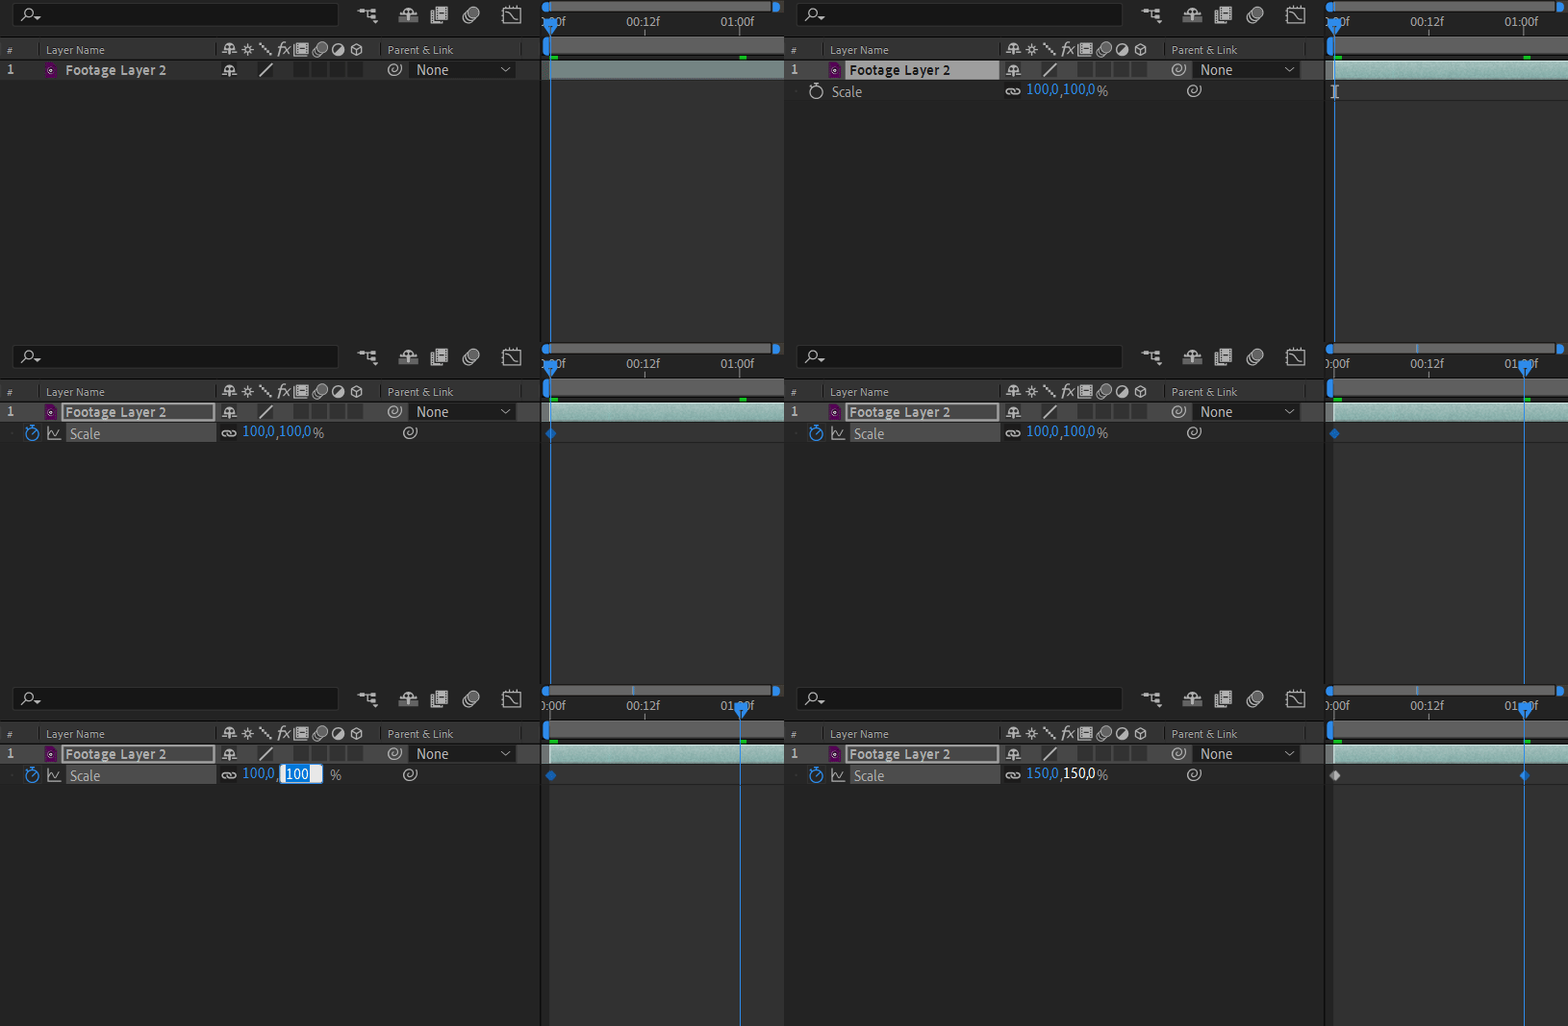
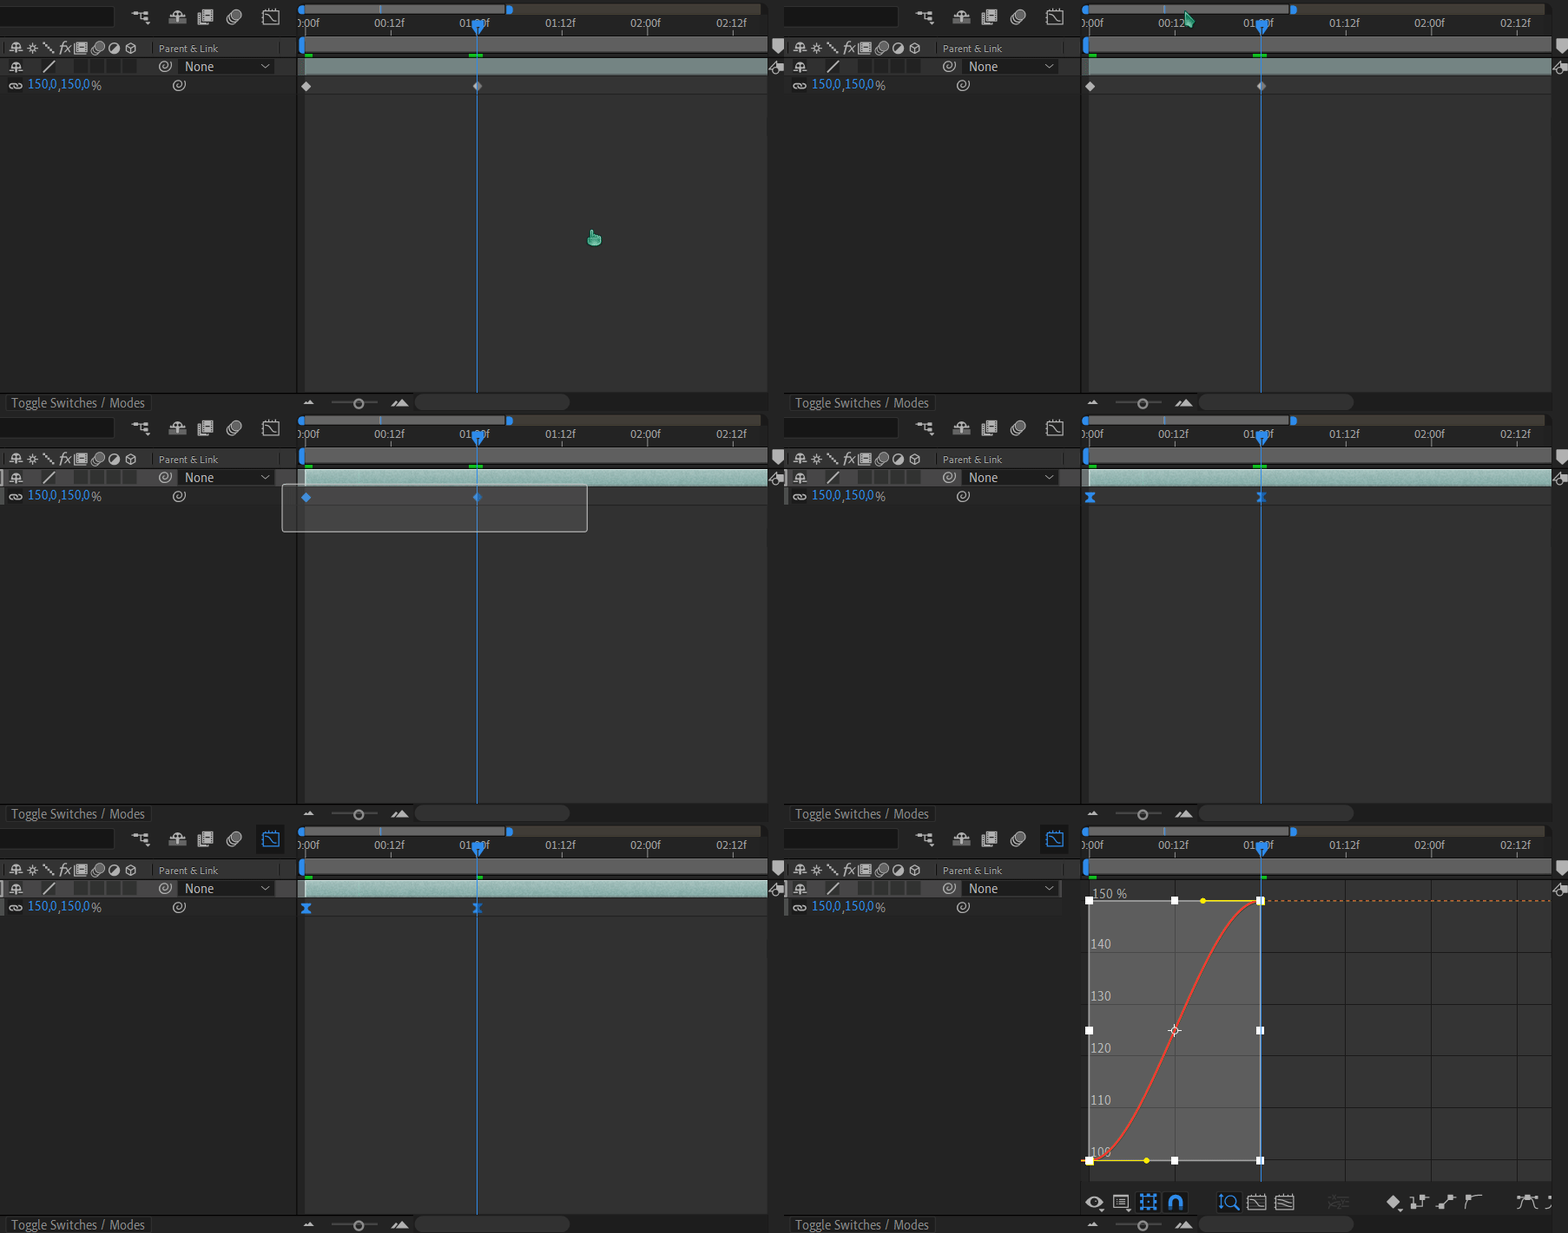
To enable keyframing, click the  to the left of the property name. By default AE creates linear keyframes like every other editing program. To edit the easing (sometimes called the graph or speed) of the keyframes, select them and hit F9 This is a shortcut for Easy-Ease, which sets the keyframes into bezier mode and applies a default ease-in-out curve to them. To see this curve and to edit it, open the graph editor from the button next to the master switches. I recommend setting a keyboard shortcut for this.
If your graph editor doesn't have an S-curve like the bottom gif and instead has a parabola shape, you're in speed graph mode. Change the mode with right click > Edit Value Graph (right click the background of the graph editor). Both modes can be used but all of the guides here will assume you use the value graph. Both graphs can achieve the exact same things, they're just different ways of visualizing the same information, I just find the value graph to be easier to read and use.
In the graph editor, you can move the keyframes in two dimensions. You're probably used to moving keyframes horizontally, this just makes the keyframe happen earlier or later. In addition to this, you can move the keyframes vertically in the graph editor to change their values. If you move the keyframe up, the animation value will increase and vice versa. You can also make new keyframes while in the graph editor, you can even start animating other properties without having to switch back and forth the normal timeline.
To edit the graph, select one of the keyframes and its handle(s) will appear. Moving the handle(s) will affect the curve. It's a good idea to play around with the handle controls and preview different curve shapes to get a feel for how the curve relates to the animation. If you have three keyframes, the middle keyframe will have two handles. By default these handles are coupled. To decouple and move only one of the handles, hold alt when you start moving the handle. This uncouples the handles and you can release alt (holding alt is fine but sometimes not releasing it can lag). To recouple the handles, do the same thing again. You can also lock the handle to the X-axis by holding shift


I encourage you to try and animate as many properties as you can find and playing with their curves. Remember that the curves are not available before you hit F9 to Easy-Ease them. And that you can still select and Easy-Ease the keyframes while in the graph editor.
Tips
- To quickly select all keyframes of a single property, click on the property name.
- You can select multiple keyframes by clicking and dragging an area in the graph editor.
- Clicking on a section of the curve will select both ends of that section.
- U shows all keyframes on the selected layer.
- UU shows all modified properties on the selected layer.
- Both of the above shortcuts work even if you haven't selected a layer.
- You can make keyframes into hold keyframes by right clicking and selecting Toggle Hold Keyframe